

Richard sometimes start his videos with “righty then!”. So I’ll do the same for this article about the build of a side table in oak.
Righty then! It’s the start of a new project, and we start by prepping the materials. I am going to build a small side table based on this video series by Richard and Helen over at The English Woodworker.
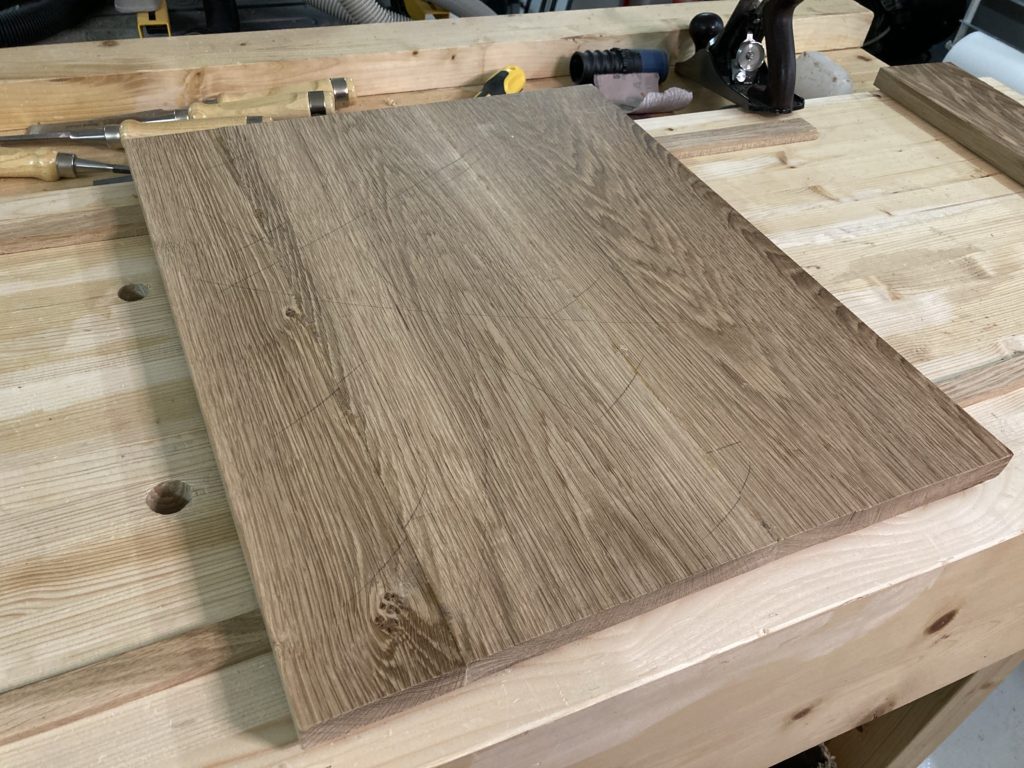
The first order of business is to make the top for the table. I had a rather nice looking piece of red oak in the lumber stack which I thought might be well suited for this project.

Nice looking, but from a far. After a bit of scrutiny, it became painfully obvious to me why this board was discarded. I bought it with a lot of other materials from an out-of-business woodworking company. There are lots of strange knots, stress cracks (possibly from a too rapid drying process) and sap wood in the plank. The wood figure also had an unpleasant resemblance to the inside of a fish skin, near the edge on part of the board. The annular rings bent to horizontal in the area. Wonderful looking edge wood, not very nice surface. I removed a section of sap wood and got three decent looking pieces for the table top.
The planer / thicknesser made quick work of cleaning up the faces of the boards, and took them down to even thickness.

I cut the worst piece down and shuffled the boards until I found the best combination and orientation of the boards. At this stage, I thought I might do ebonizing on the entire table, but the verdict is still out on that one. Originally, I wanted to do it just for the legs – but this board did not yield what I’d hoped for. Besides, I do not like the color of it too much. The images does not show the true color due to the fluorescent lights currently installed in the shop, but the red oak is a bit warmer than the images show. From experience with the wall shelf, I know that red oak becomes quite dark in color. Personally, I am not too fond of it. We’ll have to see. All black might just be too much, so I’ll do the legs first then decide.

I managed to get a pretty decent looking table top out of the boards, and I suspect that the ebonizing should make for a very pleasant looking table. It will go well with the two chairs it is intended for, as they are stained in a wenge-ish tint.
The ebonizing potion takes a few days to develop properly. I put some 0000 steel wool in 35% household vinegar – bought at the local grocery shop – and put it aside for later. I poked a hole in the lid to avoid any pressure building up from the process.
NOTE: I did a boo-boo. The steel wool was floating around, and the thing oxidized on me. I made a new batch where I placed a rock on the steel wool to keep it submerged. I am not sure if it matters, but the new batch performed better I think.

I then jointed the mating edges by hand, made a small spring in the joints and glued them up. I added a few extra clamps to make the pressure even on both sides, for good measure. These clamps tend to bow under tension, which could lead to a warped top.


After the glue had cured, I removed the clamps and cut off a small section that was too long.

Ready for an initial smoothing of the surface; some squiggles with the pencil to help me see my progress:
I leveled the joints and took a light pass over the entire surface to remove any machine marks. I’ll do a final smoothing later on, in order to ensure that the glue are fully cured and any fibre swelling in the joint lines are faded.
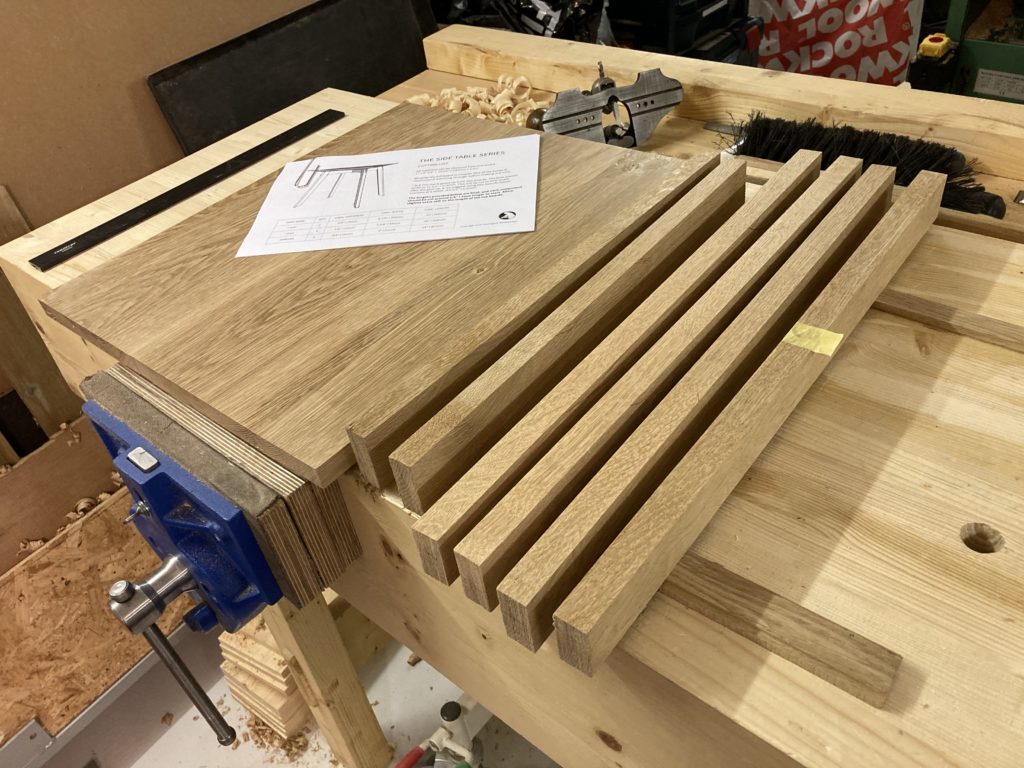
I cut some blanks for the legs and aprons from another piece of oak:

After I removed some gnarly sections, splits and defects, I ran the blanks through the thicknesser to get near final dimensions.

I then ripped the blanks on the band saw and cleaned the cuts with a hand plane.

This marked the end of the machines for this project. From here on and out, only hand tools will be used.
With all parts 4S, the stage was set for joinery:
A small splinter was glued in place on one of the leg blanks to prevent it from developing. There will be more refinement to the part later on.
Please note: this is a multi-page article. The links to each page can be found just under the “related” section below.
Pingback: The Lie-Nielsen No.66 beading tool | Fagerjord.org
Pingback: The live edge oak slab garden bench part II | Fagerjord.org
Pingback: Accepting limitations | Fagerjord.org
Pingback: Uniqueness in series | Fagerjord.org
Pingback: You crack me up! | Fagerjord.org
Pingback: Ebonizing oak | Fagerjord.org