
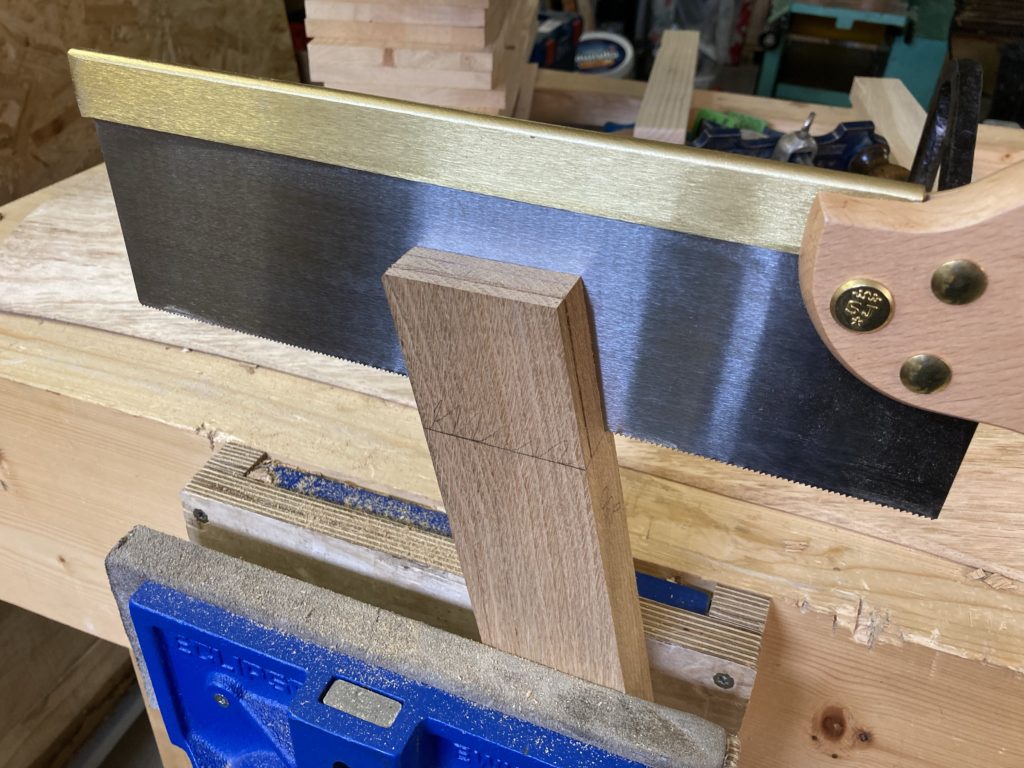
Third leg and cross rail, finishing
First order of business was to cut the tenon to fit a mortise I chopped in the leg (no images were taken, sorry!). I cut it slightly oversized and snuck in on a perfect fit with the router plane.
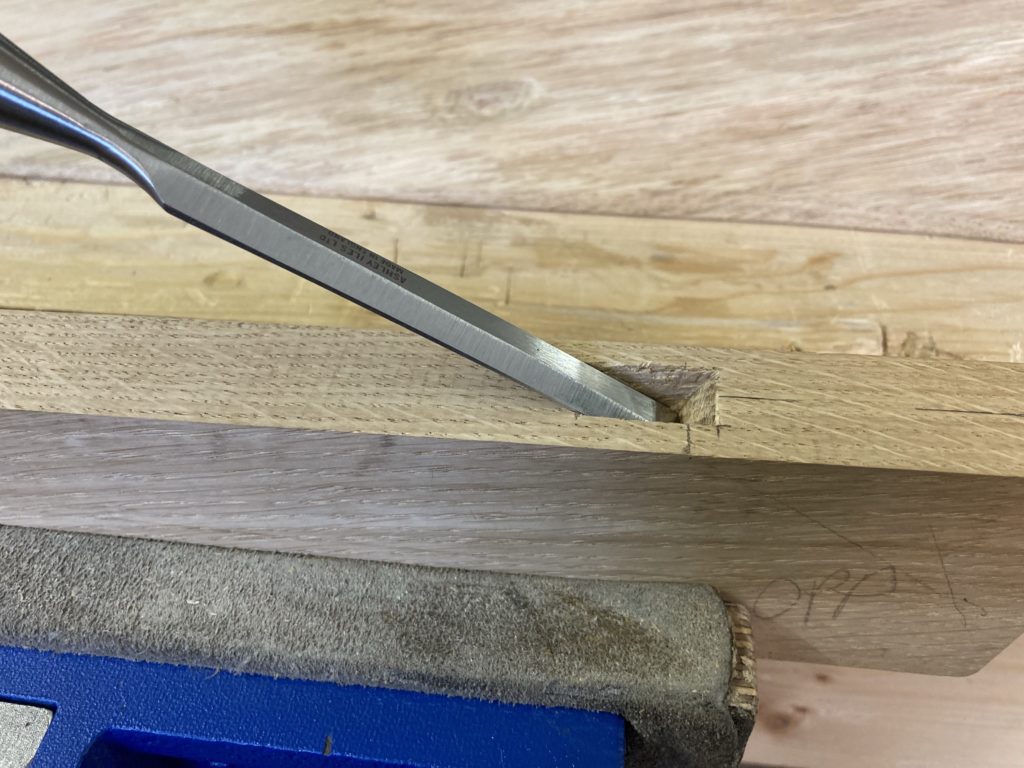
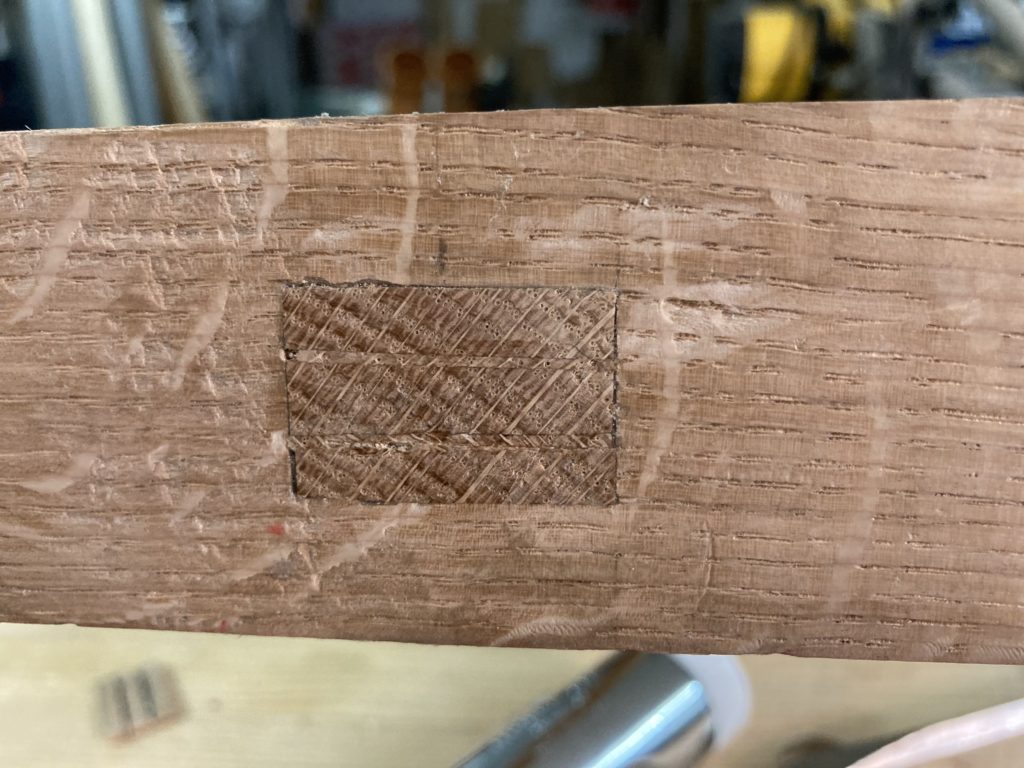
I made a small groove for a screw to secure the leg to the top. Come to think of it, that’s a DIY pocket hole! I also made a mortise for the leg in the bench top.
A small groove for a screw 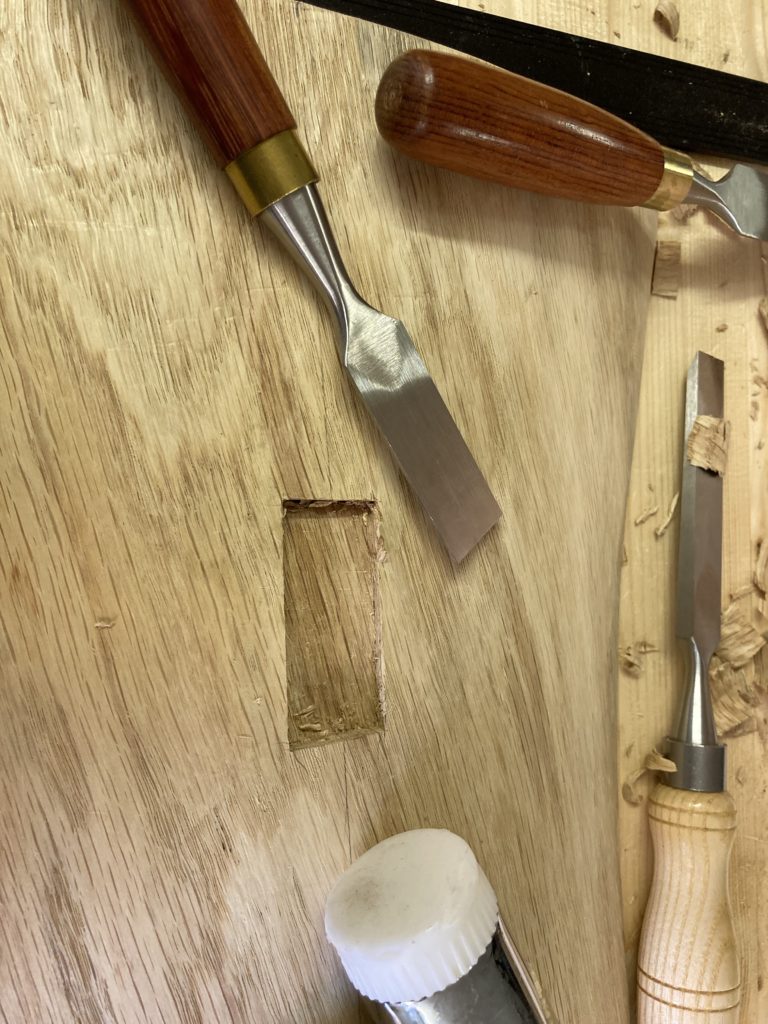
Mortise for the leg 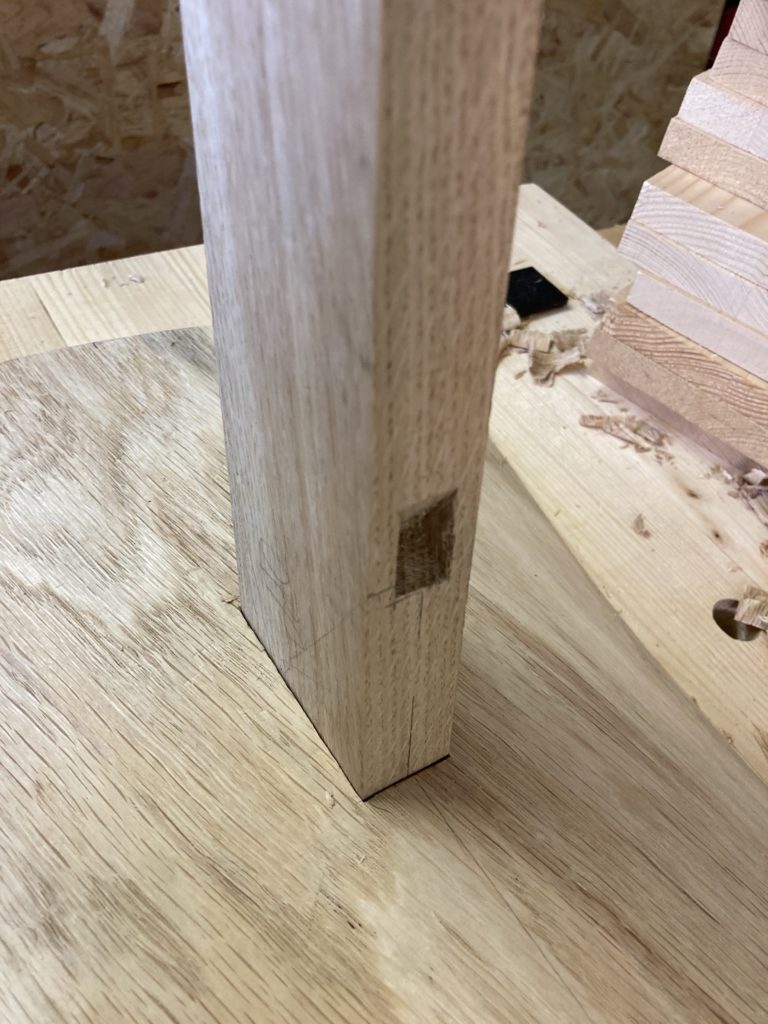
DIY pockethole?
I decided to use wedged mortise and tenons on the cross rail. I cut and drilled grooves for the wedges – drilling out in the bottom of the groove prevents splitting. I then used my Veritas marking gauge to measure and mark the width of the wedges. They were then planed to width, with the plane in the vise for easy work. Then followed a very mundane glueup using outdoor rated Cascol glue.
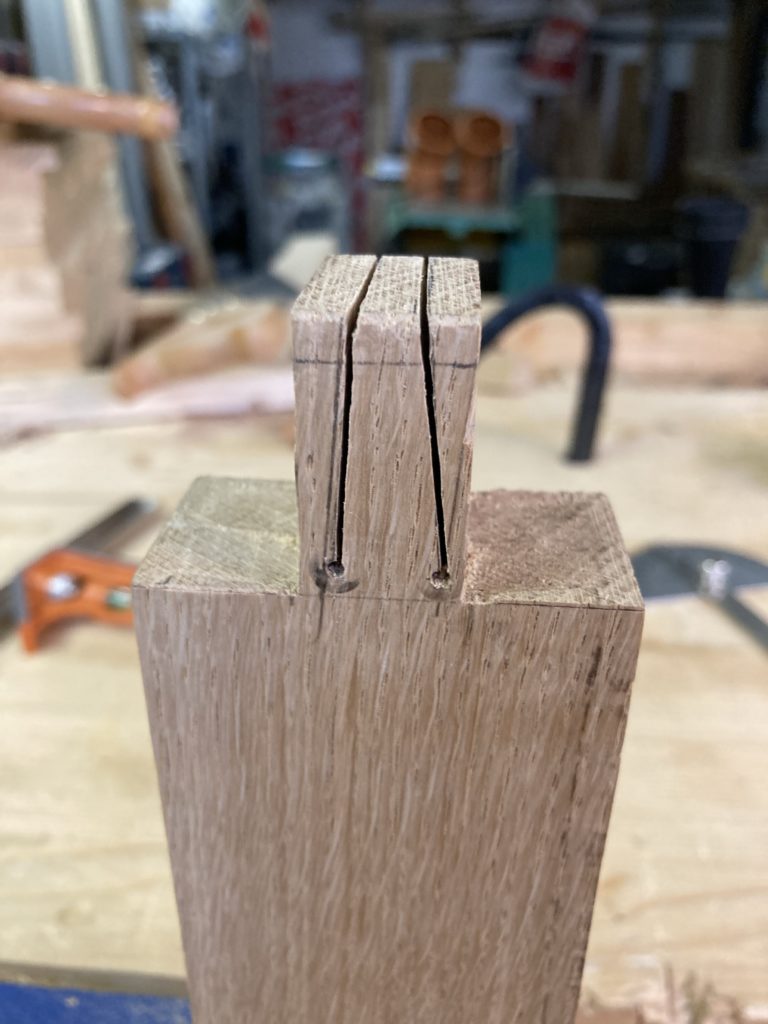
Cut and drilled for the wedges 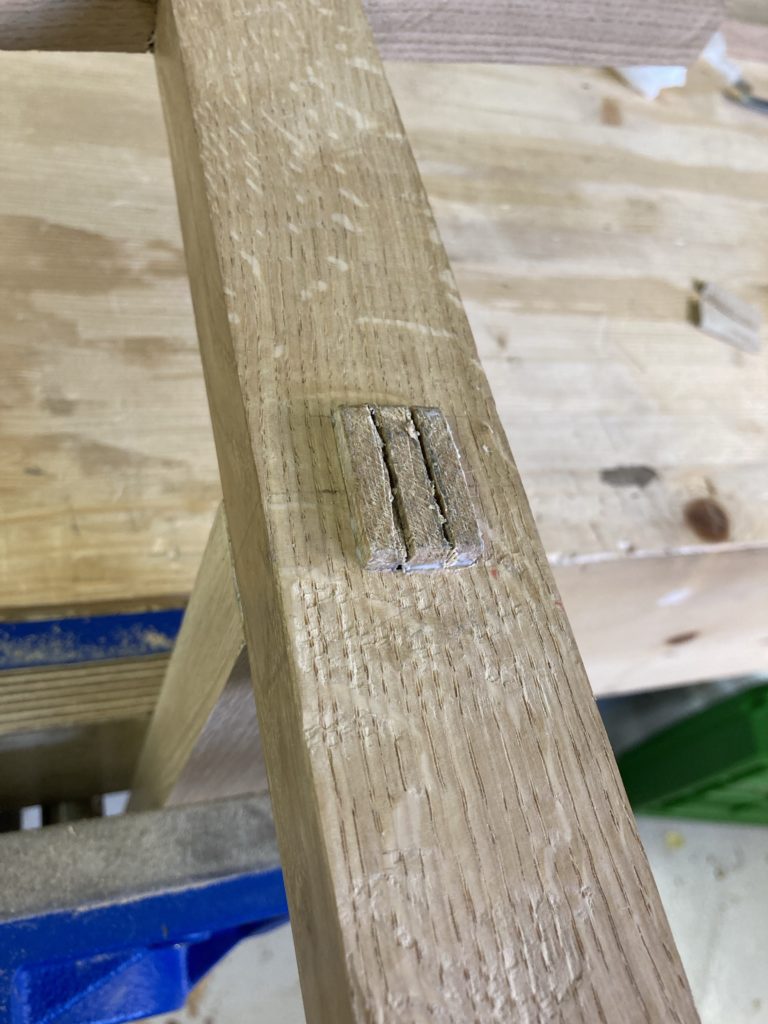
Test fit 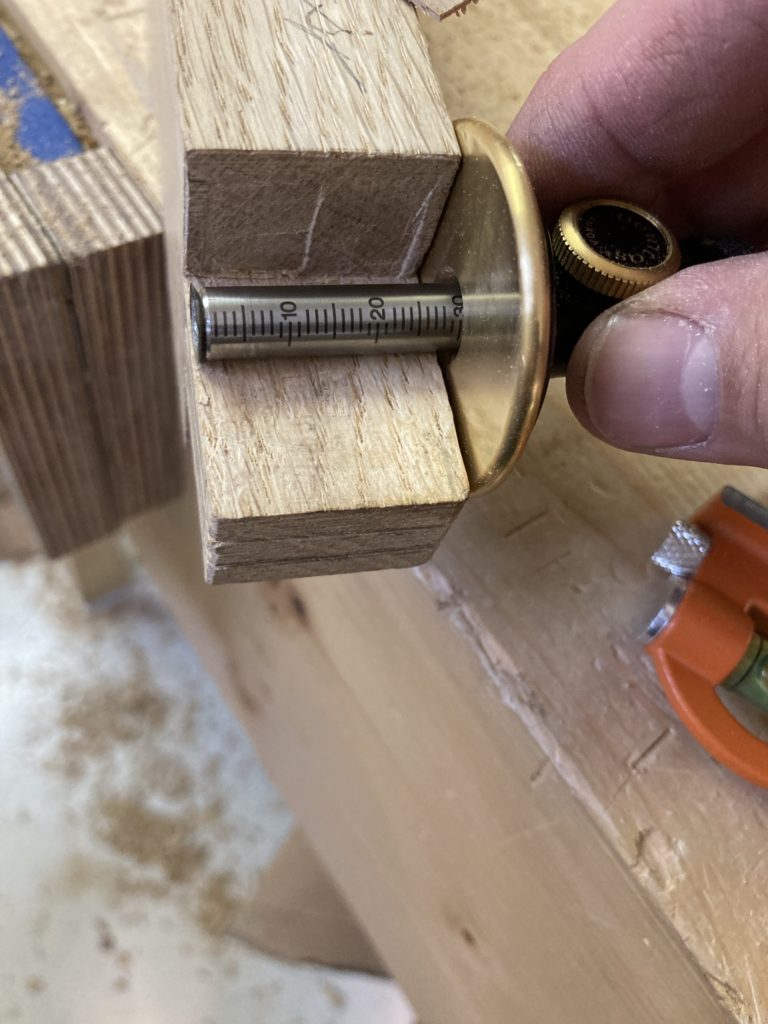
Measuring the width for the wedges 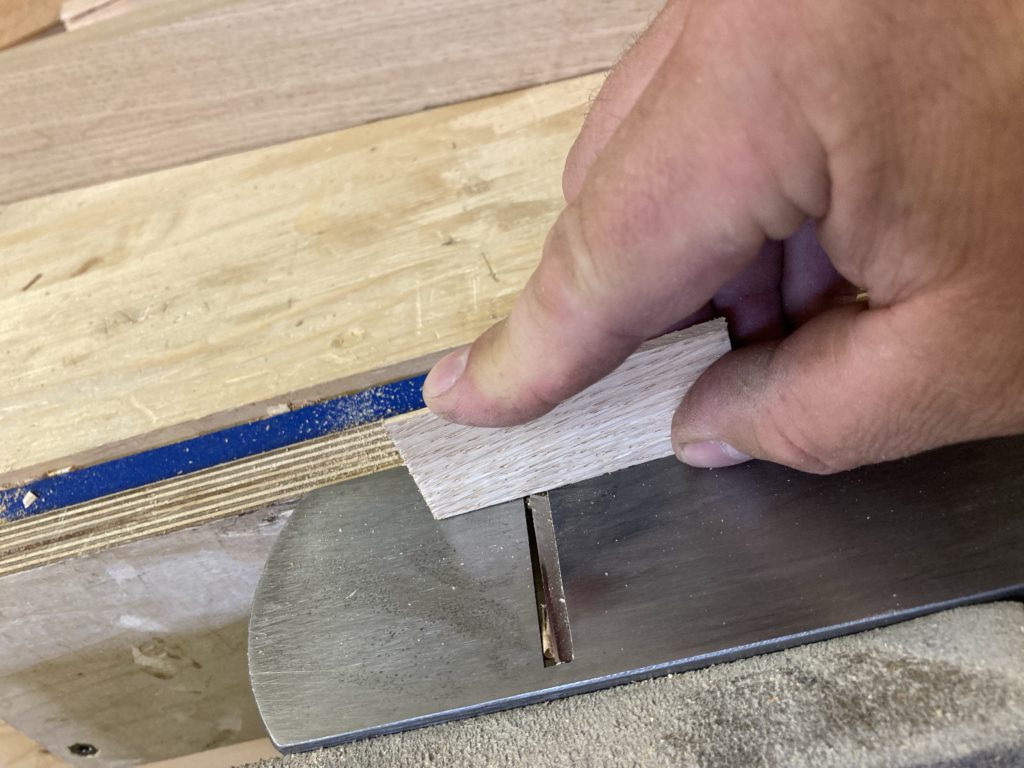
Planing a wedge to width
After the glue had dried, I trimmed off the excess. Pro tip: I placed masking tape around the protruding wood and a ryoba pull saw that has almost zero set to it – I don’t have a flush cut saw, but this works just as well. A bit of chisel work, and it ended up like so:
Rinse and repeat for the other end, and the base is almost completed. A swipe or two with the smoothing plane, and the tenons were flush with the surrounding wood.
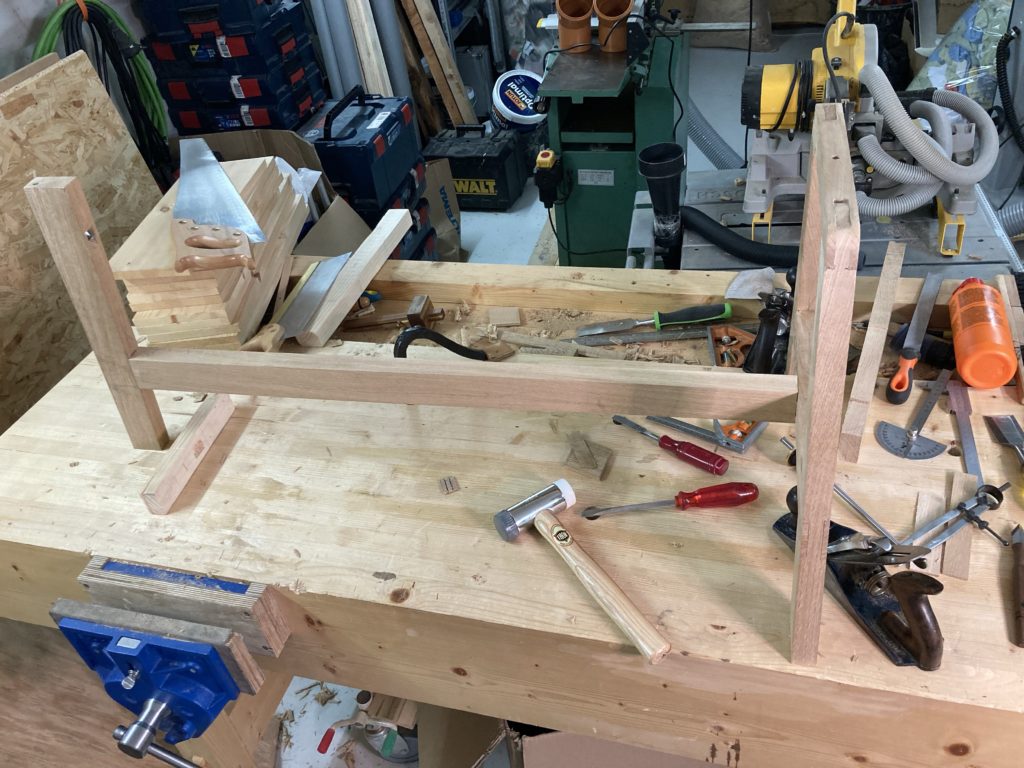
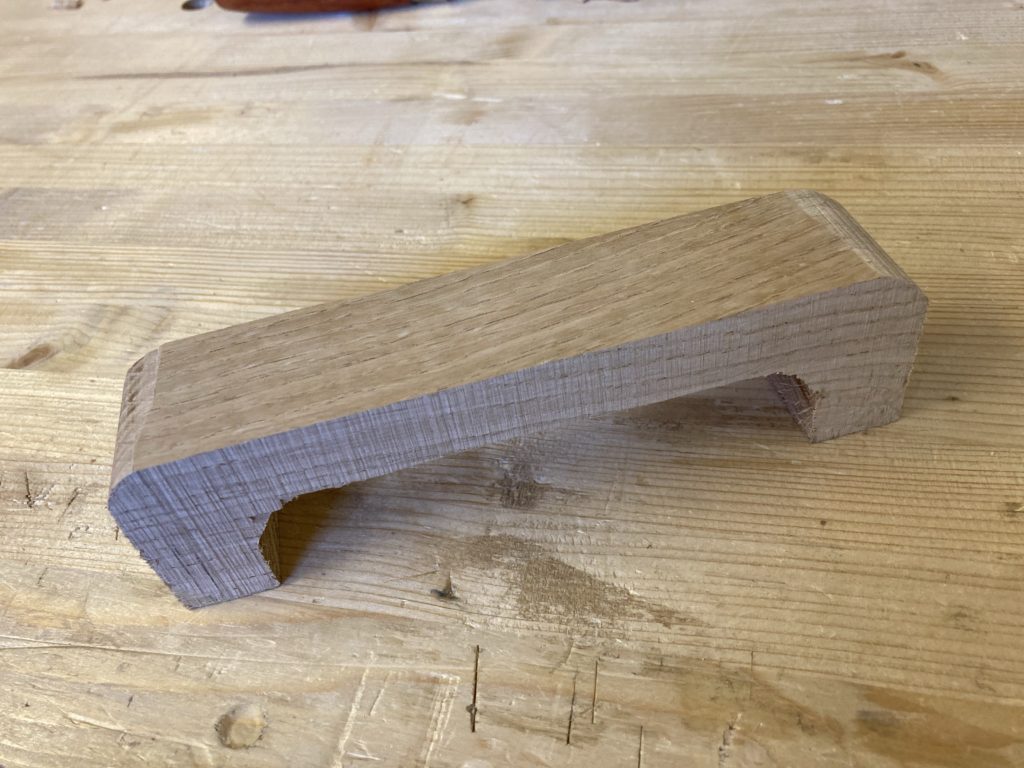
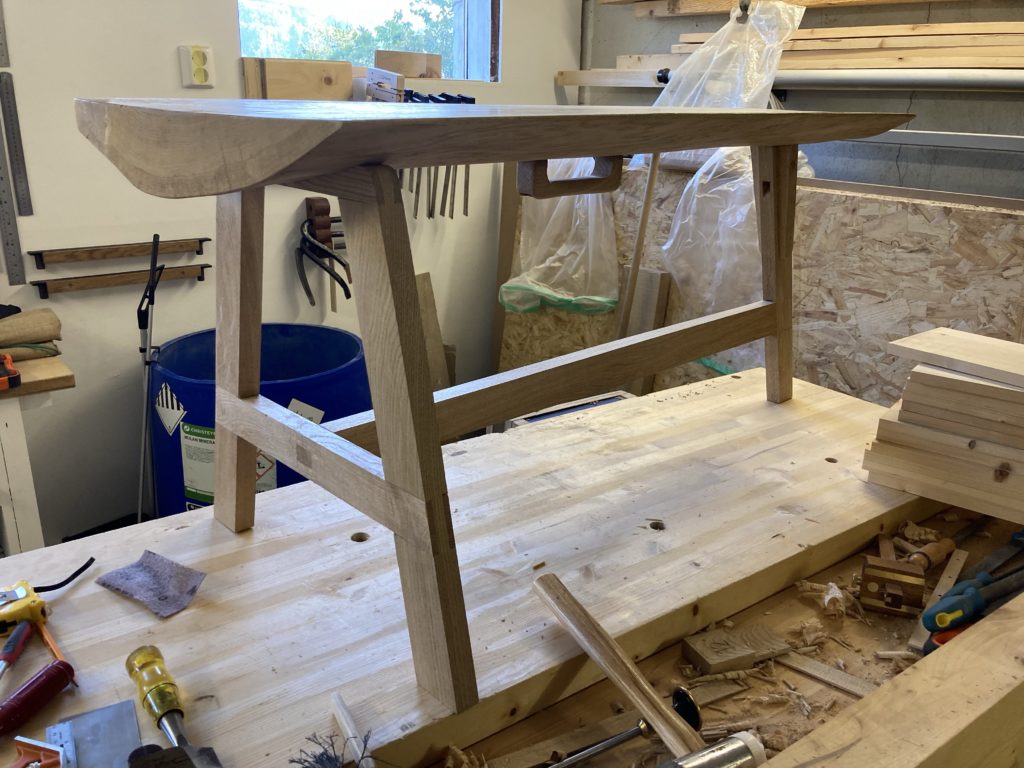
I tested the bench, and it turns out that the single leg isn’t as stable as I would like; it twist a bit from side to side if I apply lateral force to the seat. A bit of sideways bracing is needed as there isn’t enough material in the bench seat to make a deeper mortise. I’ll just call it “a design choice”… Now, you might remember that the drawing showed a rail on top. To be functional, that rail would need to be pretty tall. Think an Y-shaped thing. It would not look good, so I decided against it. Another solution was needed.
I grabbed some offcuts and made two tapered pieces with one end rounded over, then glued them in place.
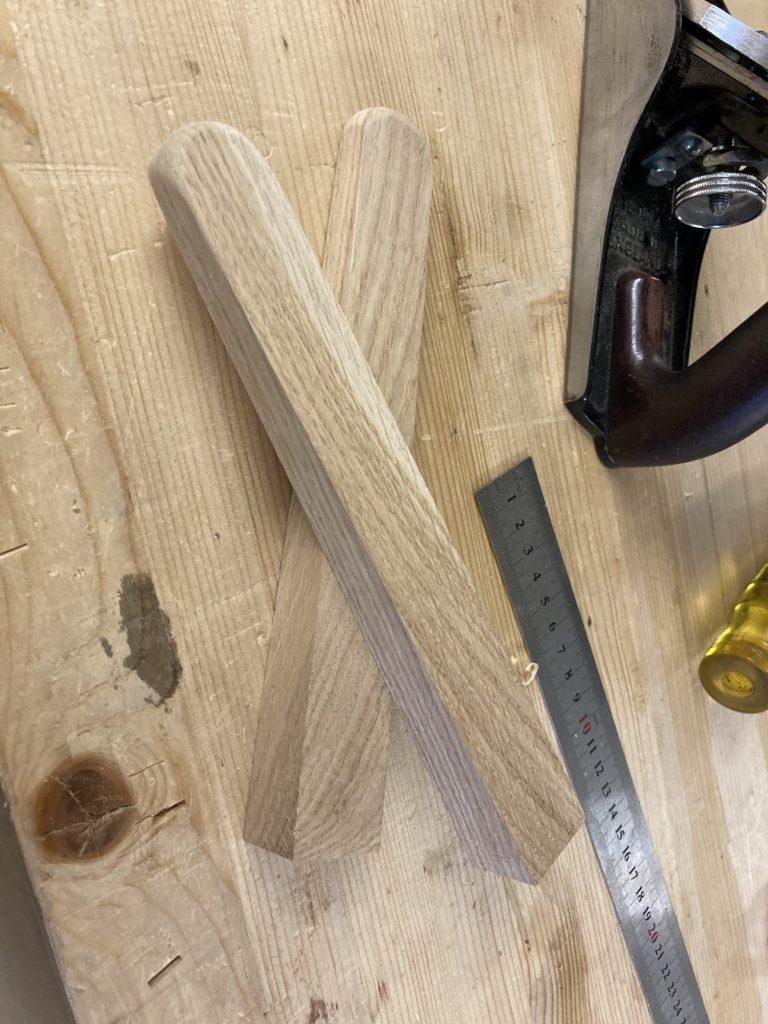
Some gash became blanks 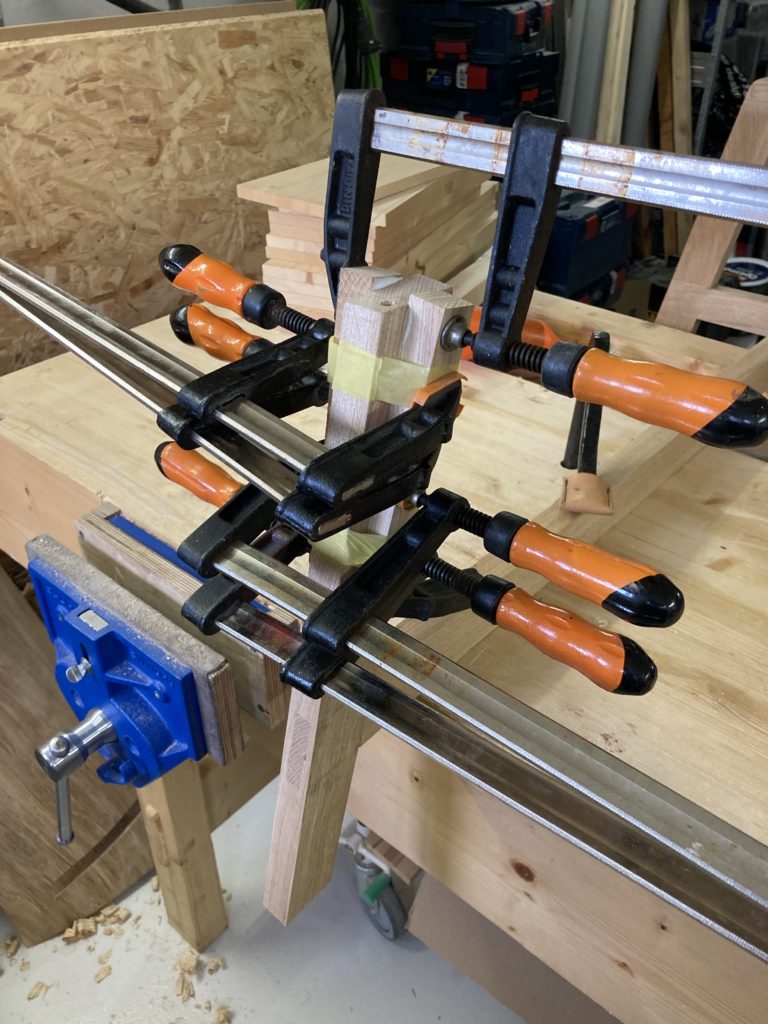
Clamp-o-rama! 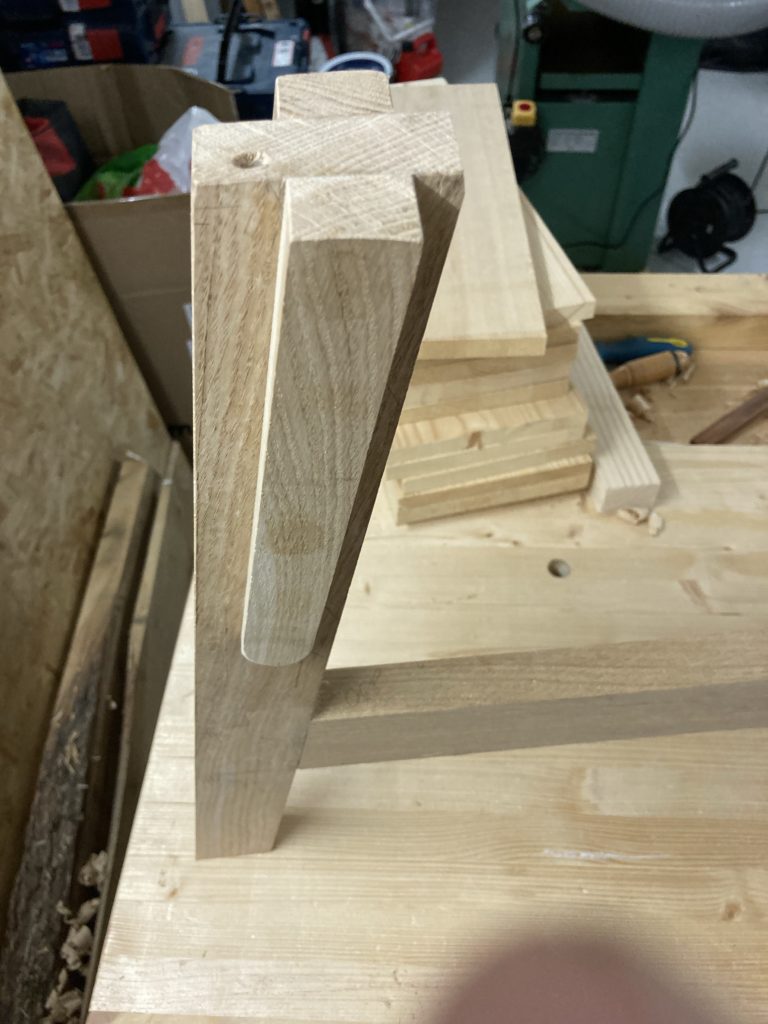
I thought they might need a bit of reinforcement – I am not worried about the glue holding up, but the wood might give in. I therefore made a couple of dowels, drilled holes and hammered the dowels in with some outdoor rated glue. A bit of cleanup, and done. This stiffened the leg considerably, and the bench does not feel wobbly anymore.

Splitting blanks 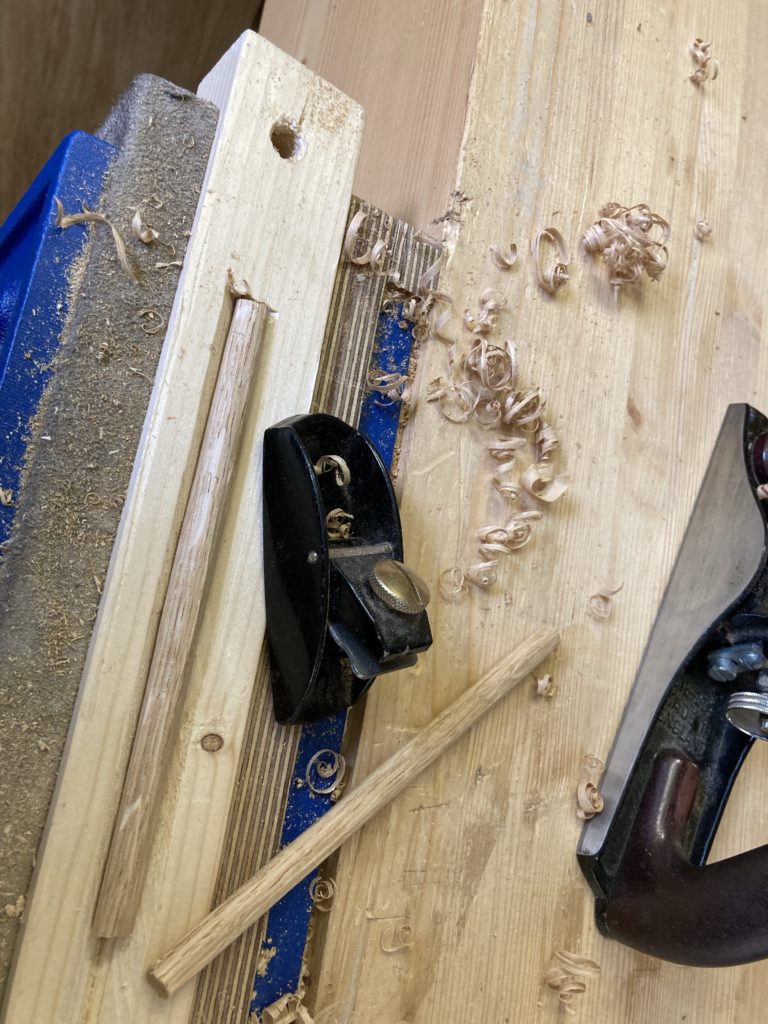
Rounding with a puny plane 
Through the dowel plate 
Sharpening a point 
Persuaded in place 
Cleaned up and finished
The beauty with dowels like these, is that the grain runs all the way through the dowel – this makes them as strong as can be.
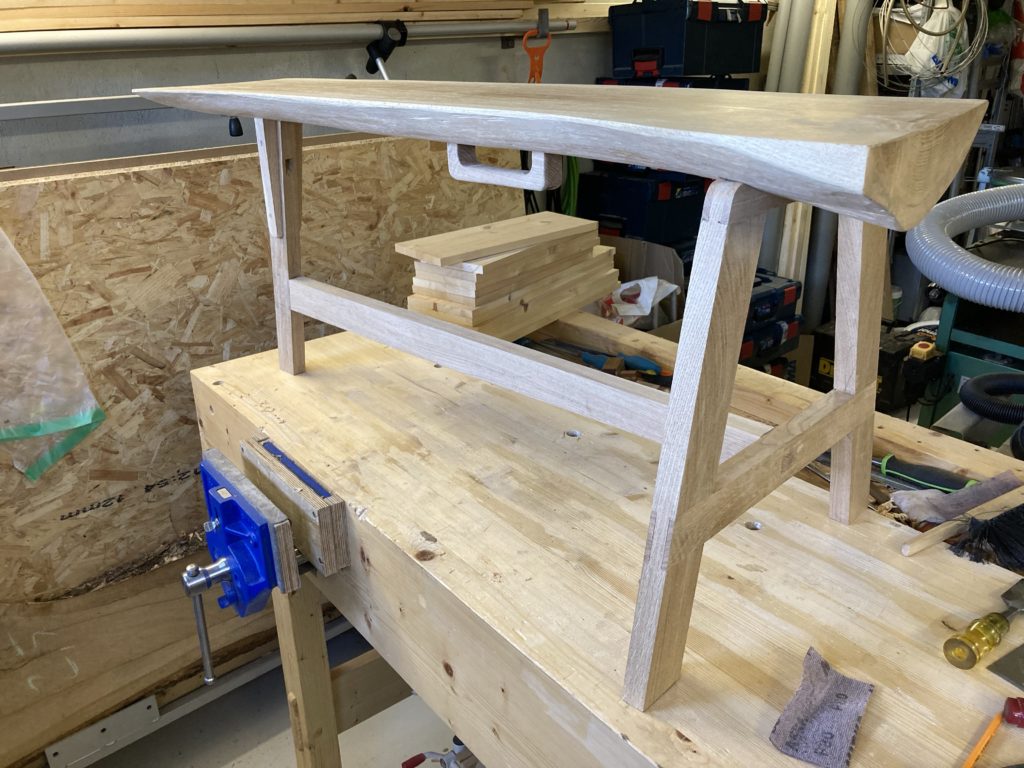
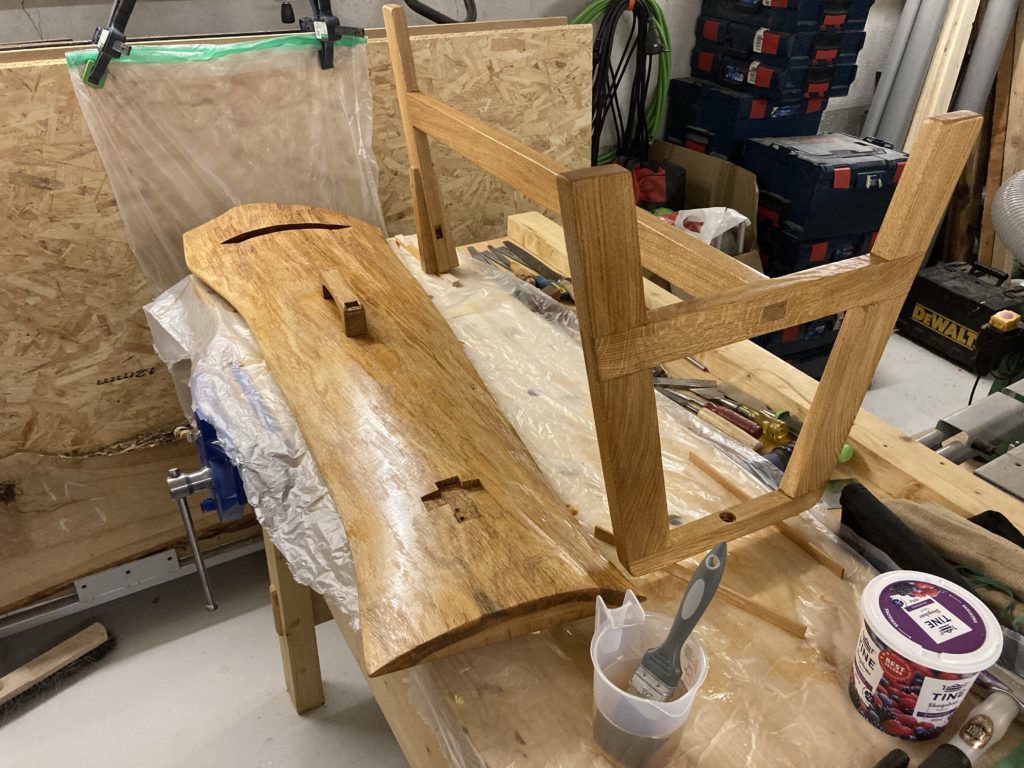
After modifying the mortise for the leg with a chisel, I mounted the base to the slab seat. There’s one feature I think a good garden bench needs, and that is something to aid in moving it around. Since this is a rather small bench that does not weigh too much, I thought a simple handle would suffice. The first thought was to simply make the handle a part of the seat – carve it out of the middle of the seat. That would not look good; a slab seat showcases the cross section of the tree and the wood figure. A carved handle in the middle would’ve just been noise. I grabbed another piece from the burn pile and cut out a handle on the band saw. A bit of rasp, file, chisel and sand paper action later, the handle was comfortable to grip. I made cutouts for the screws and drilled countersunk holes.
I marked out the center line and the center of gravity of the bench, then chiseled two flat spots where the handle then were screwed to the underside of the top.
The blank off of the band saw 
Rounding and forming 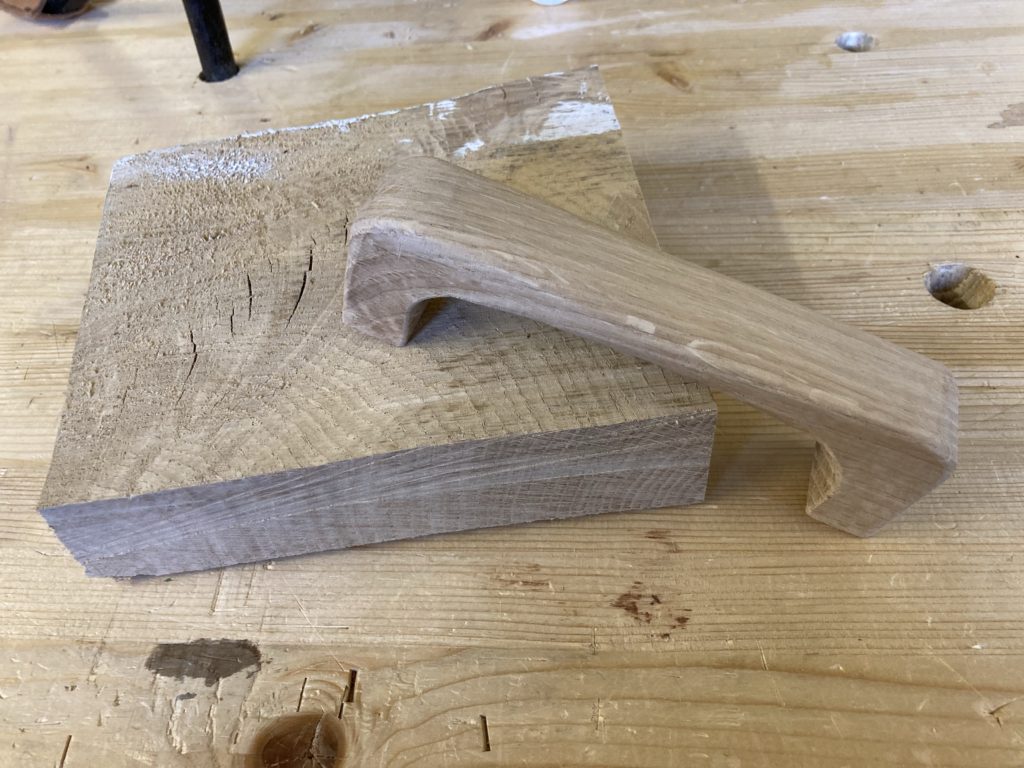
The origins of the handle 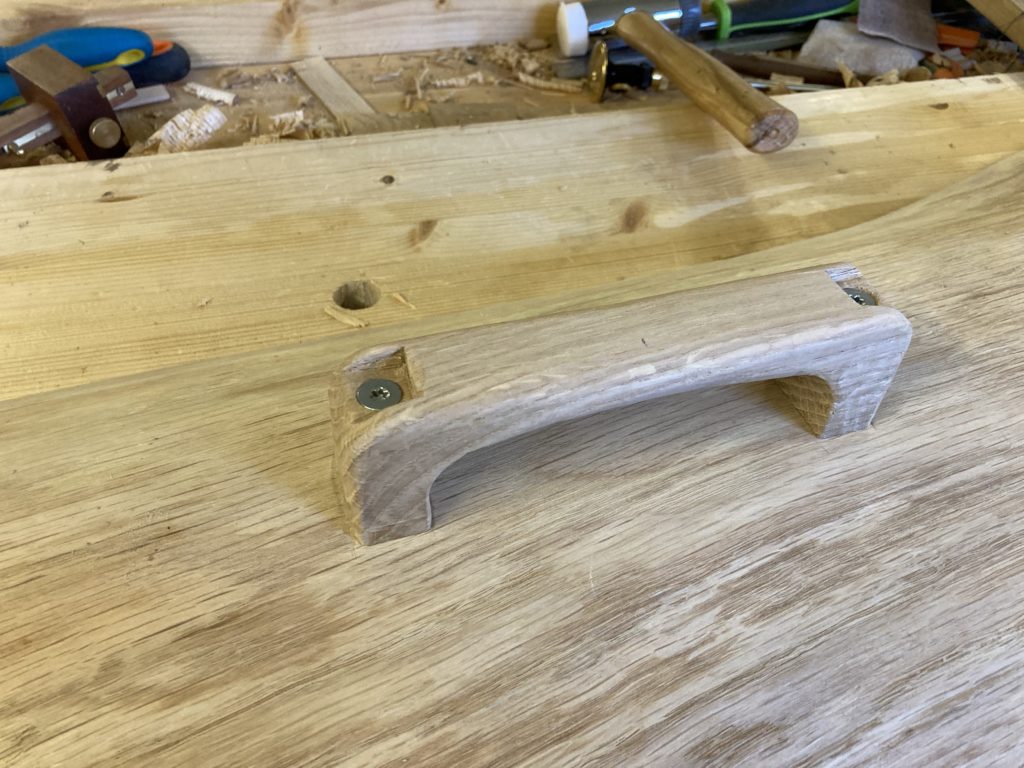
Slots for the countersunk screws 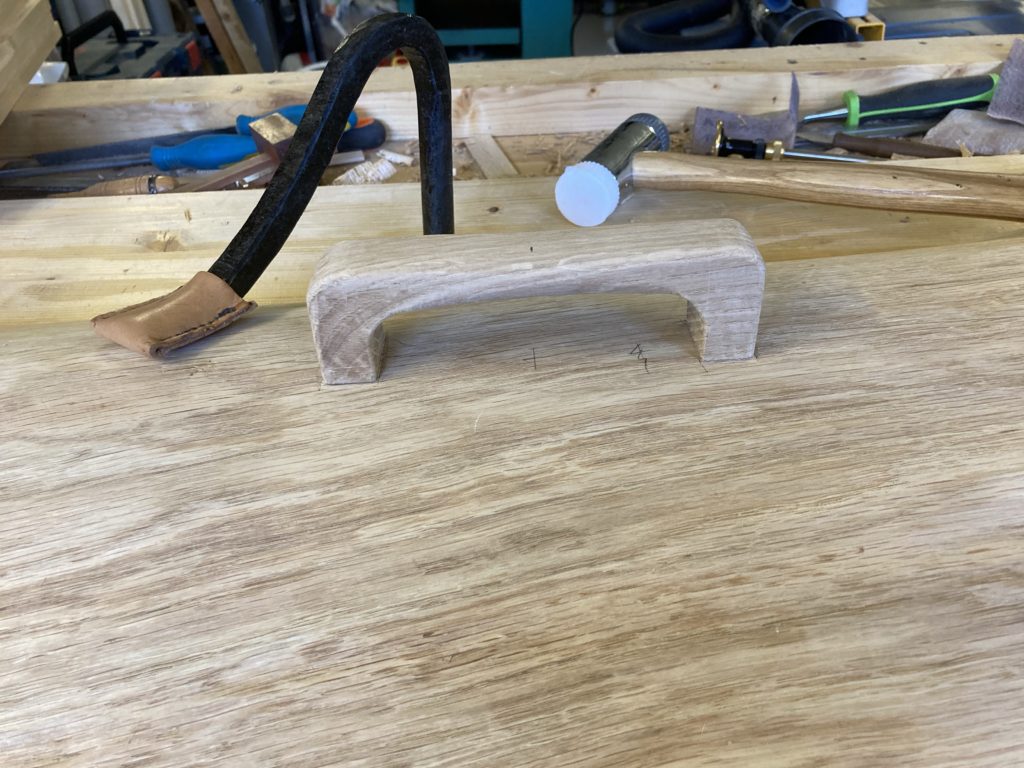
Mounted to the underside of the bench.
The handle makes it easy to lug the bench around.
I then gave the top a final smoothing with the hand plane. The base was given a light sanding with my random orbital sander (ROS). In that process, all edges were rounded over.
Now – I am a hand tool user, so why a ROS all of a sudden? Isn’t a hand planed surface so much better? Sure! But since it was there… Anyway, I am not a hand tools only guy. Some tasks are more convenient to do using machines. Sanding is such a task. And BTW: the seat top is hand planed, not sanded. So… 😬
PPE – Personal Protection Equipment – is something we hand tool users does not need. It took me a good half hour with the ROS, wearing the mask. I was very relieved when I could remove it!
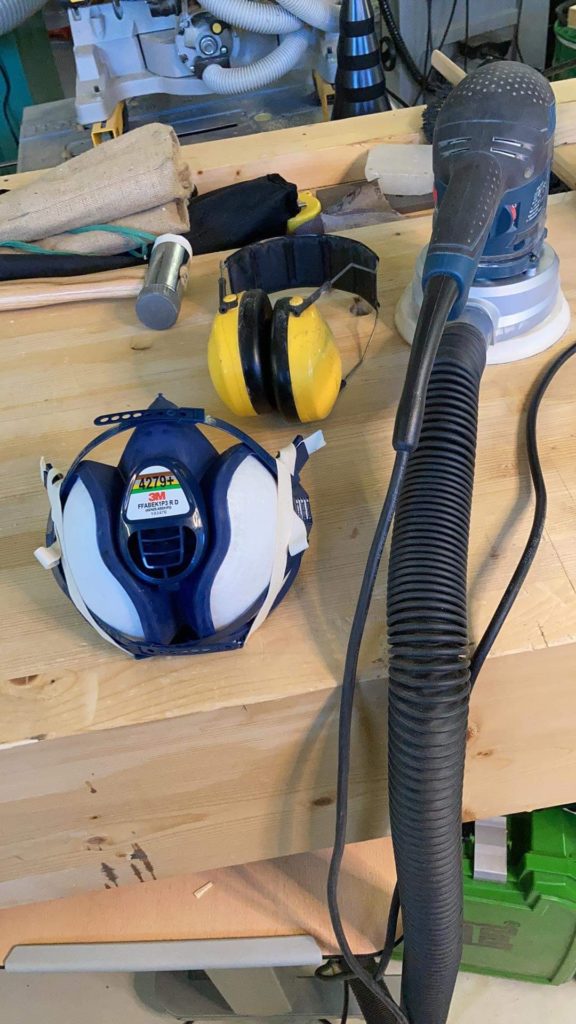
PPE time! 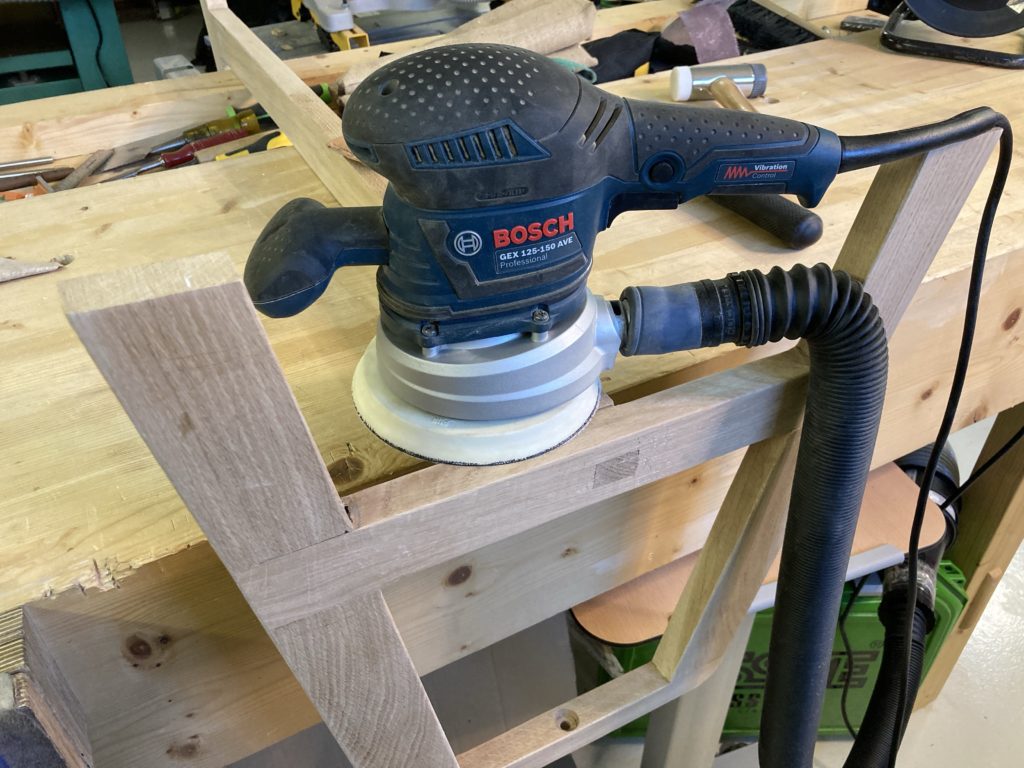
I then applied Jotun Benar UVR in four coats to protect the bench from the elements. I do live in the southwestern part of Norway (Vestlandet), and it rains here a lot. The finish is an alkyd oil with UV protective pigments. Once applied, an elastic film is left on the wood. It looks like varnish, but won’t crack. It is widely used on wooden boats. This particular oil leaves a golden brown hue to the wood. It is easy to maintain; a light sanding followed by a couple of coats will do.
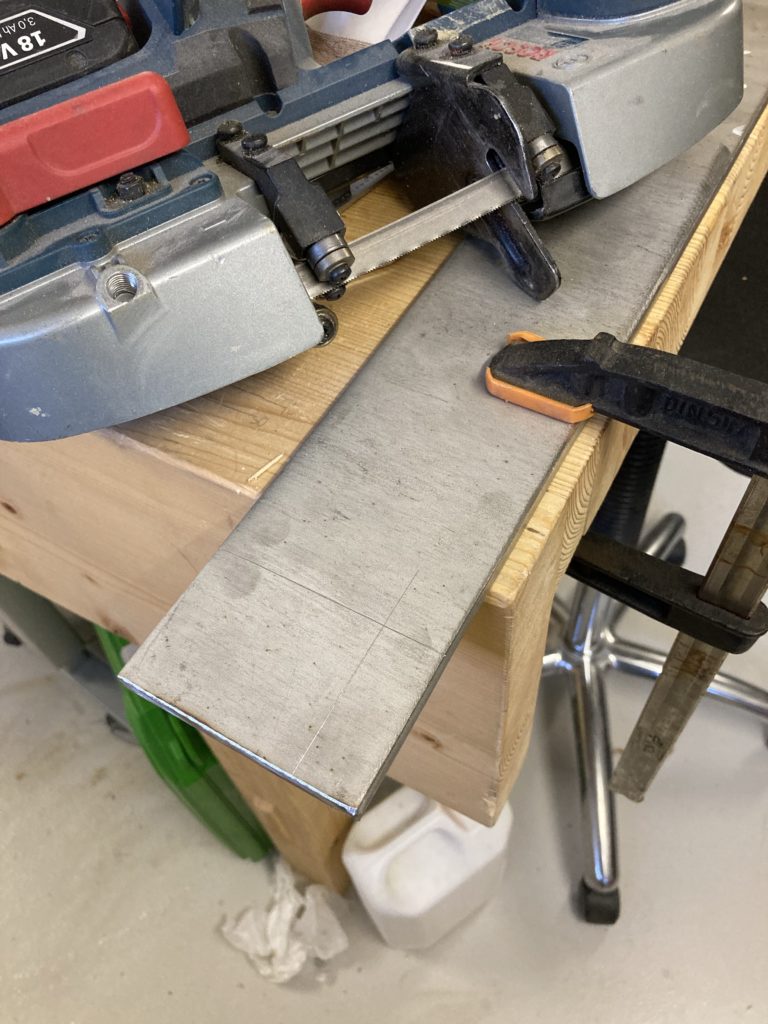
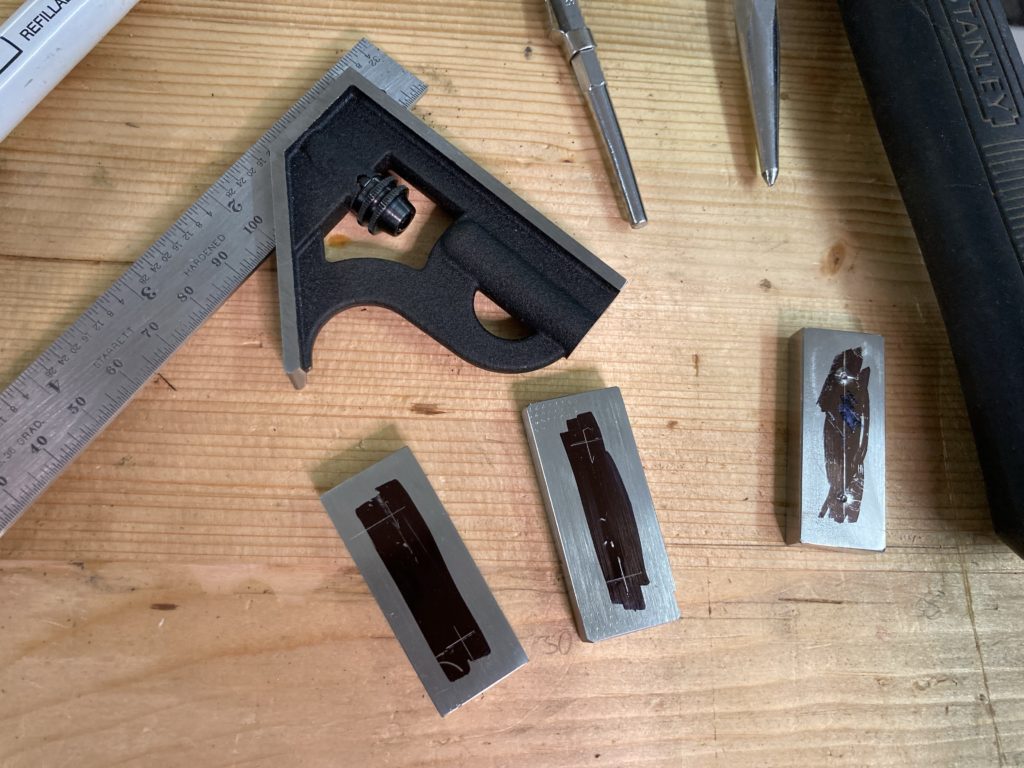
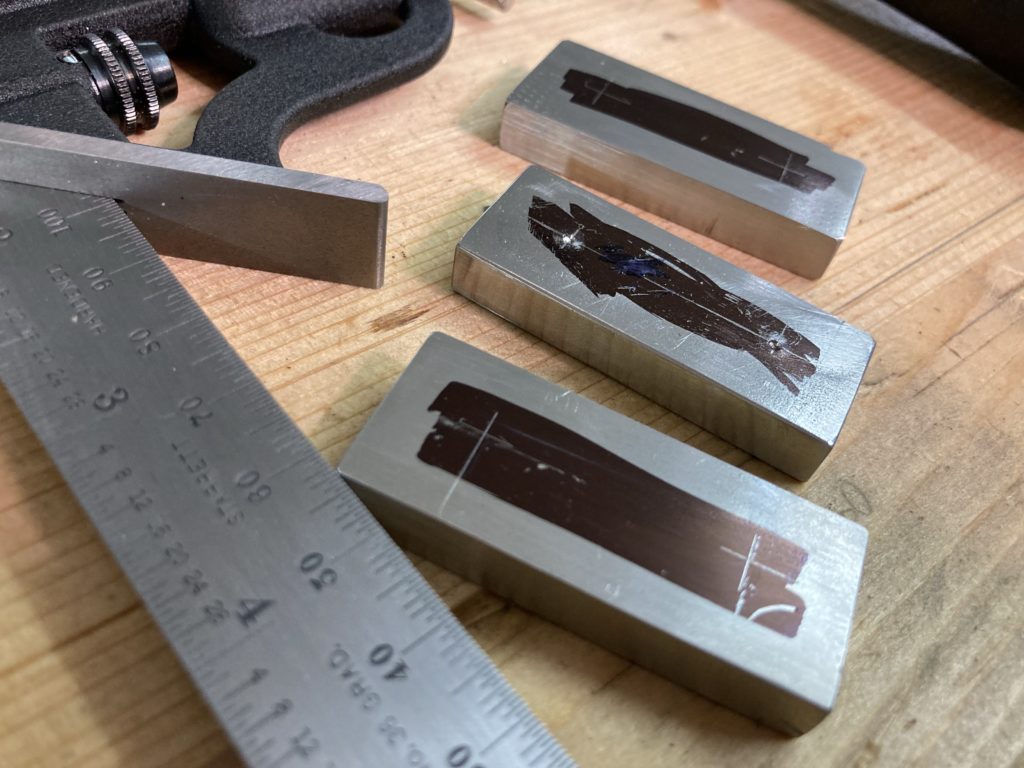
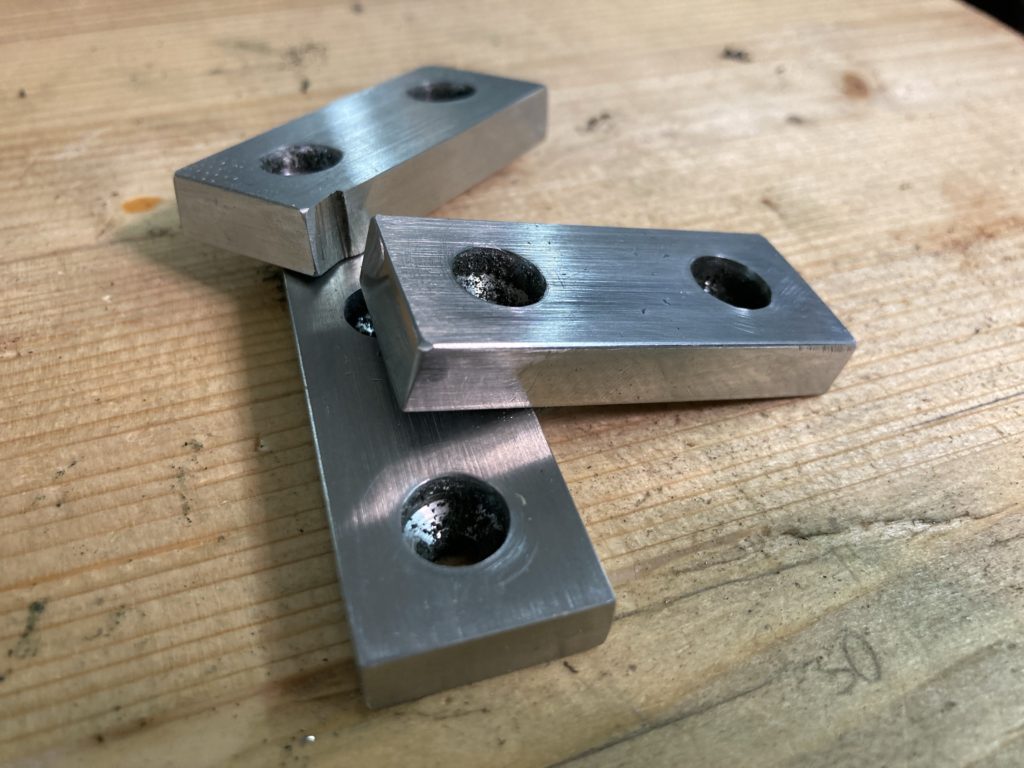
I decided to add some metal “shoes” to the legs in order to protect them against moisture and damage from gravel, stone or asphalt. Who knows where this thing will be placed?
I got hold of some stainless steel scraps from a local machine shop. I cut out some blanks which I ground and polished. I then drilled holes for screws. I countersunk them by drilling with a larger diameter drill bit. Quick and easy thanks to one luxury tool: the cordless metal band saw from Bosch. Love that thing!
The parts were polished on the strop at my sharpening station. The diamond plates eased the sharp edges in no time.
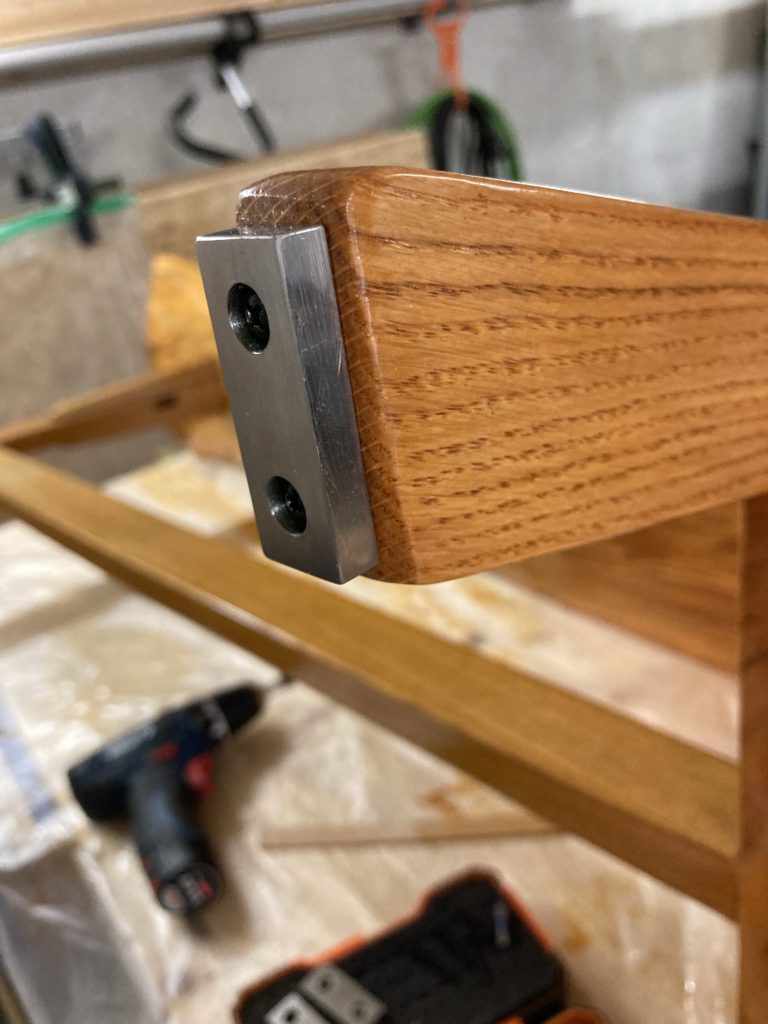
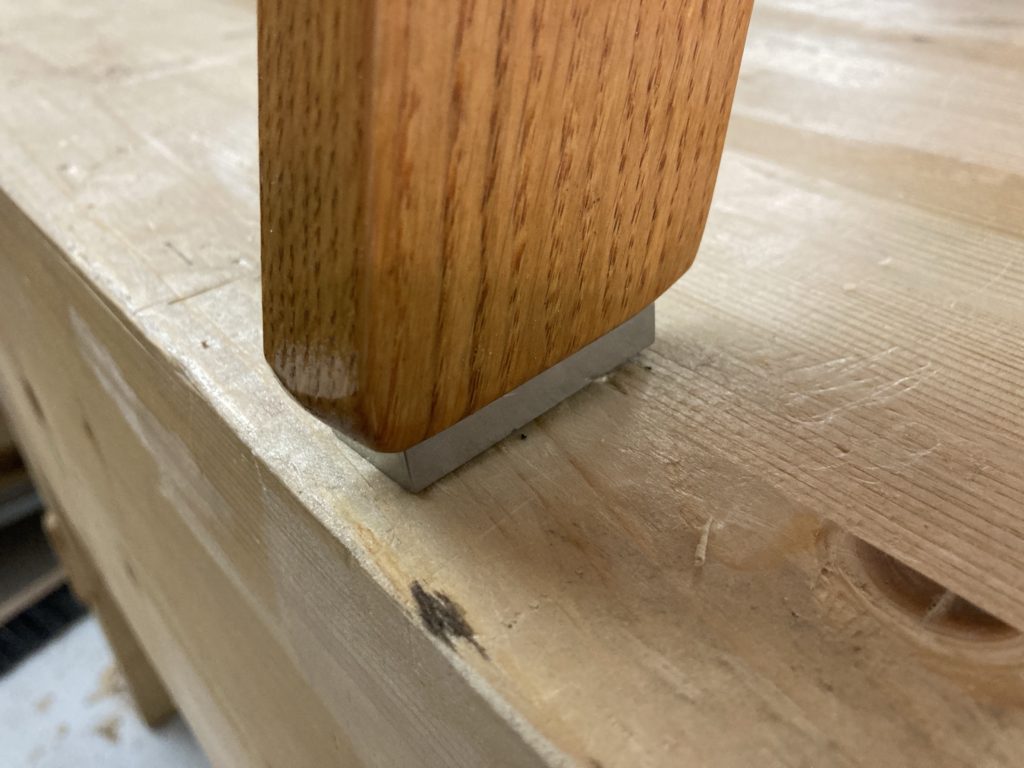
The finish had cured for a week when I mounted the shoes, and I could finally declare the project “finished”. A good feeling!
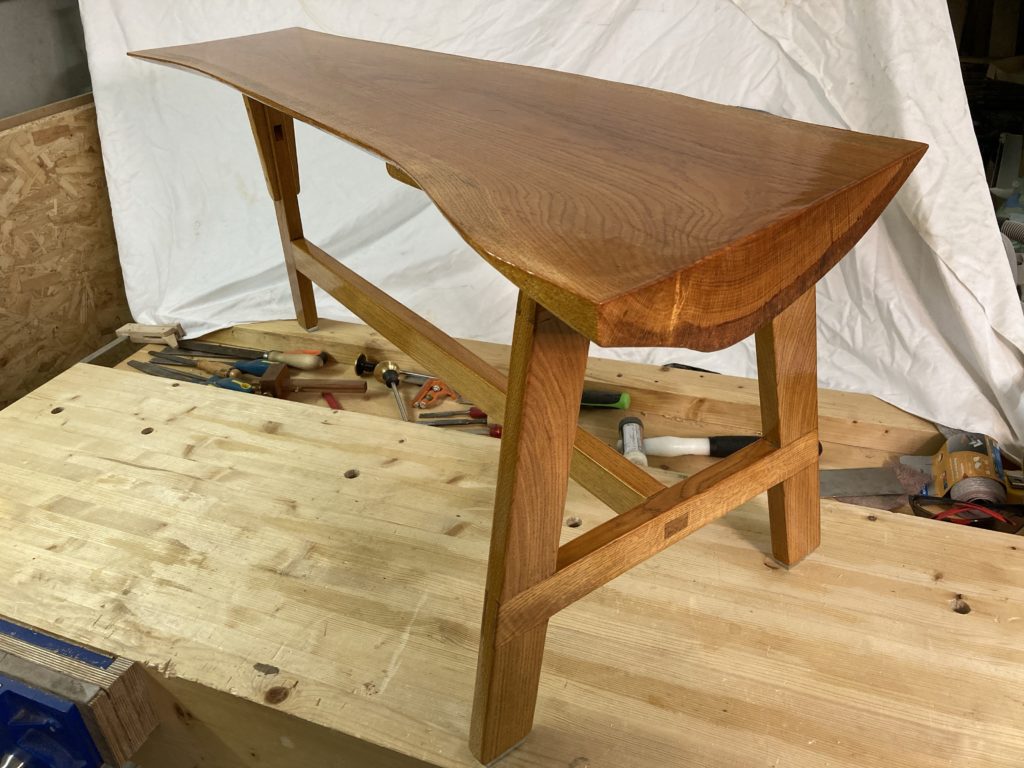
On the next (and last) page we’ll see some pictures of the bench and discuss the design.